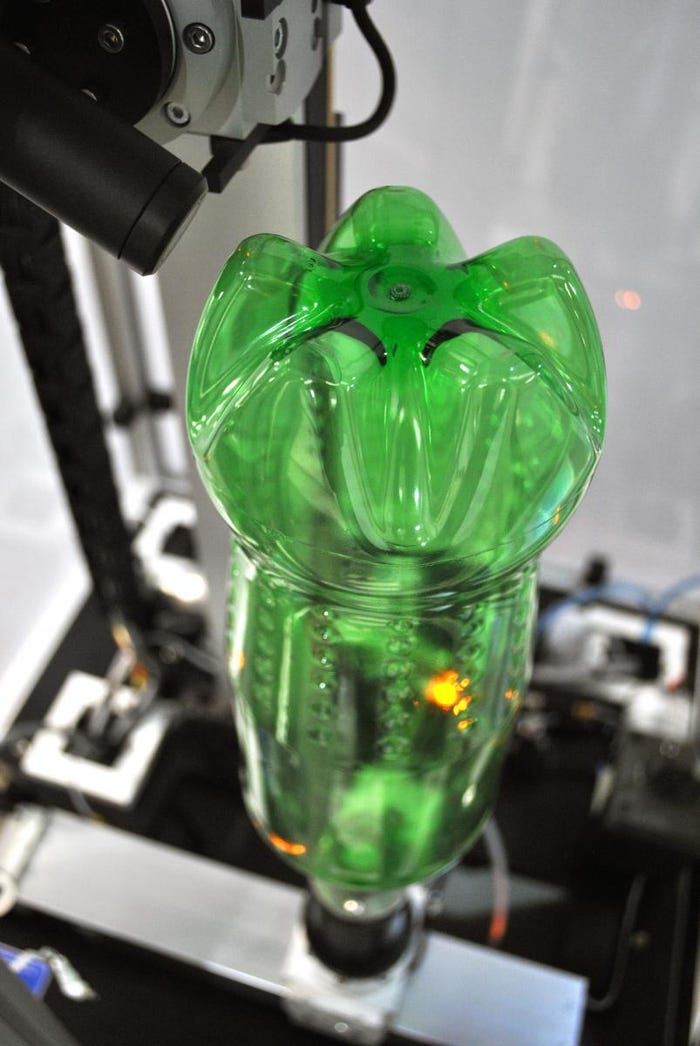
With a market trend toward PET lightweighting, Trac Measurement Systems has launched a new B300 bottle wall thickness system that allows measurements to be taken at finite intervals of 50 microns with a sensor spot size of 7.2 microns. The company says that the wall thickness gauge facilitates comprehensive measurements to be taken at user definable positions ensuring a "fast, non-destructive, non-contact, accurate measurement."
November 26, 2013
With a market trend toward PET lightweighting, Trac Measurement Systems has launched a new B300 bottle wall thickness system that allows measurements to be taken at finite intervals of 50 microns with a sensor spot size of 7.2 microns. The company says that the wall thickness gauge facilitates comprehensive measurements to be taken at user definable positions ensuring a "fast, non-destructive, non-contact, accurate measurement."
 Trac Measurement Systems recently launched its new B300 bottle wall thickness gauge for PET bottles at the Drinktec 2013 Show. "The machine proved to be incredibly popular at the show with positive feedback from major beverage fillers and PET plastic bottle manufacturers," said Clodagh Monahan, sales and business development PET engineer for Trac Measurement Systems.
The machine brings several measurement benefits including the capability to produce a detailed measurement report of up to 4800 points. These points are taken by the sensor from outside of the bottle while maintaining perpendicularity to the bottle surface, thus preventing angular errors giving significant measurement benefits over traditional infra-red systems. The sensor can also be rotated to specified positions which will suit all bottle designs giving outstanding flexibility.
Other additional benefits reportedly include highly accurate linear sensor technology within the gauge, factory calibrated with no additional need for calibration, a Magna-Mike or reference gauge. The system can take up 960 measurements per feature type and completely eliminates the need for base weight checks. A 7.2 micron spot measurement enables a more inclusive positional test and finally bottle height, base clearance, base thickness, base corner thickness, shoulder and wall thickness can be tested in one operation.
About the Author(s)
You May Also Like


